Help guests find the bathroom with a simple wooden arrow sign. You can make this easy DIY home decor project using wooden clothespins and a wooden dowel. It gives your home a warm, rustic look without spending much money.
The best part is that this craft does not take much time to put together. Most of the waiting time is for the paint to dry. It is also a fun activity to enjoy with children. Just make sure an adult handles the hot glue gun to keep everyone safe.
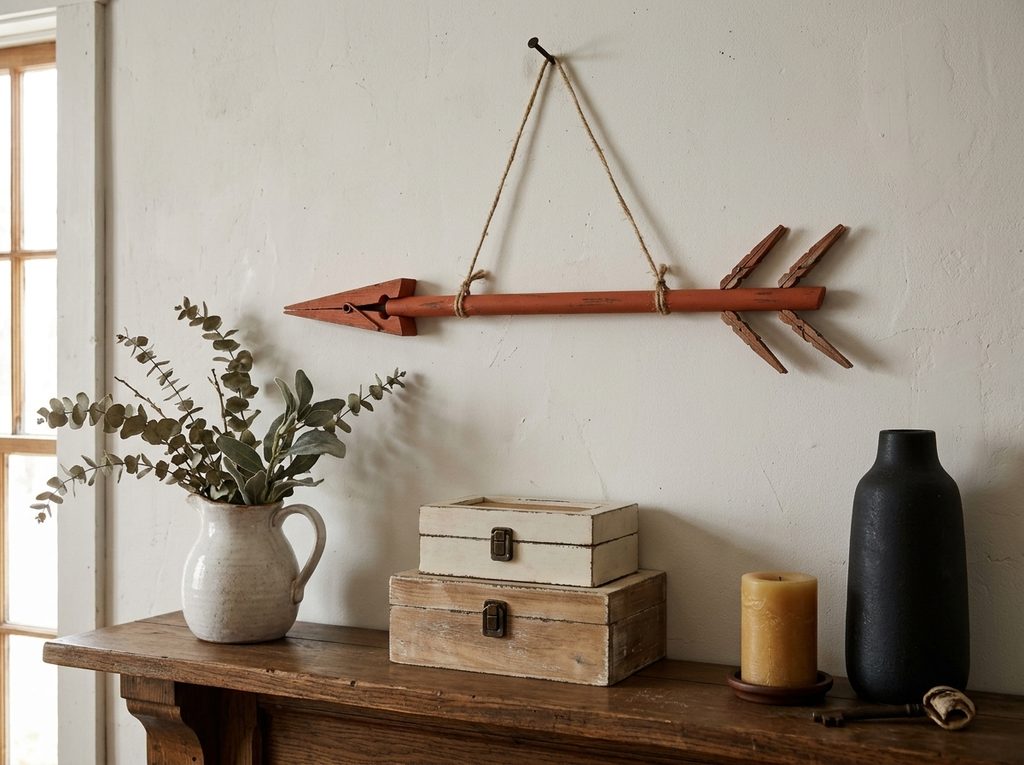
You can easily change the look of this wooden arrow to match your home decor. If you prefer a modern style instead of a rustic look, try using different paint colors. For a child’s bedroom, paint the arrow white and add colorful polka dots. If you want a simple and elegant design, choose black or dark maroon paint.
This DIY wooden sign is useful for more than just pointing guests toward the bathroom. You can also hang it in your bedroom or dressing area and use it to display necklaces and other lightweight jewelry.
With a few basic craft supplies and a little creativity, you can make an affordable home decoration that is both attractive and useful.
Materials Needed
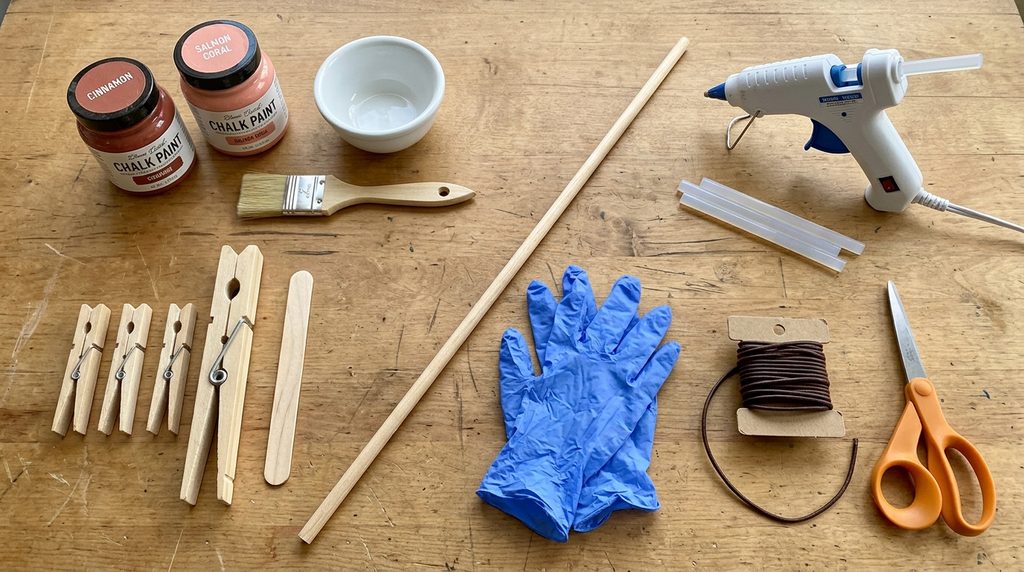
Gather these simple supplies before starting your DIY wooden bathroom arrow sign:
- Chalk paint in cinnamon and salmon coral colors
- A small empty bowl for mixing paint
- A wooden craft stick
- 4 regular wooden spring clothespins
- 1 large wooden clothespin (6 inches long)
- A hot glue gun
- Hot glue sticks
- 1 wooden dowel (18 inches long), thin enough to fit inside the large clothespin’s jaws
- Disposable gloves to protect your hands
- A flat artist’s paintbrush
- 24 inches of leather cord
- Scissors
Most of these supplies are easy to find at a local craft store or online. You can also choose different paint colors to match your home decor.
Instructions:
Step 1: Mix the Paint
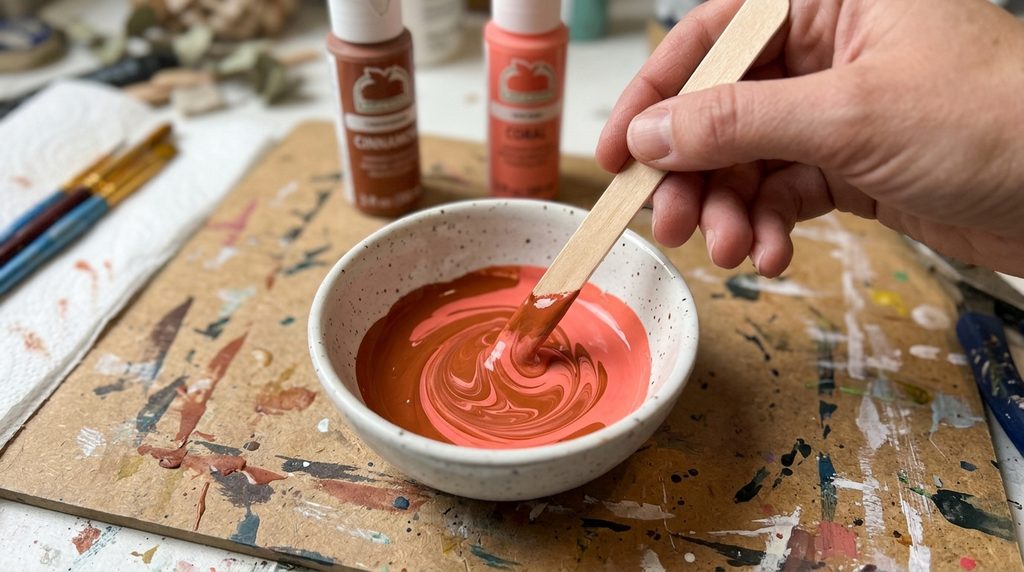
Pour equal amounts of cinnamon and salmon coral chalk paint into a small bowl. Use a wooden craft stick to mix the colors well until you get a smooth, even shade.
Step 2: Prepare the Clothespin
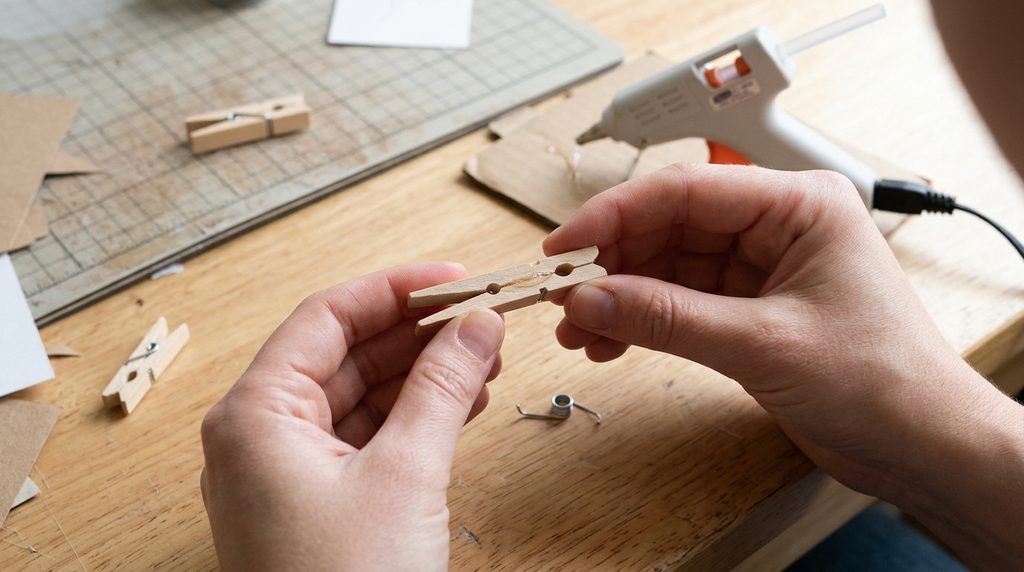
Take one small wooden clothespin apart and remove its metal spring. Apply a thin line of hot glue along the flat back of each wooden piece. Press the two pieces together, making sure their pointed ends face the same direction. Hold them for a few seconds until the glue sets.
Step 3: Prepare the Remaining Clothespins
Repeat Step 2 with the other three small wooden clothespins. Remove their metal springs, add hot glue to the flat backs, and press each pair together with the pointed ends facing the same direction. Let the glue dry completely.
Step 4: Paint the Wooden Pieces
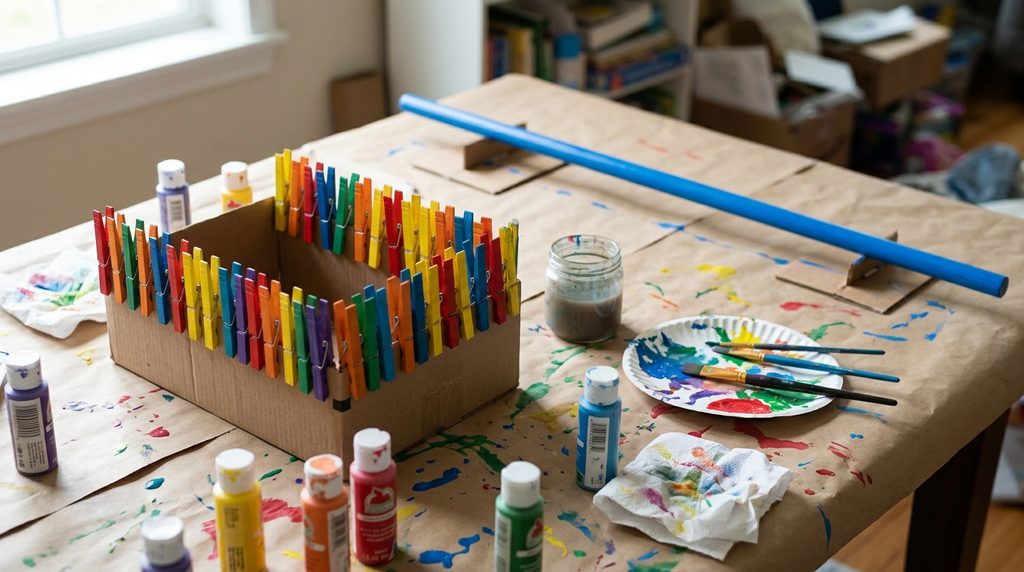
Use a flat paintbrush to apply the mixed chalk paint to all the clothespins and the wooden dowel. Make sure each piece is covered evenly. Place them on a safe surface and let the paint dry completely before moving to the next step.
Step 5: Attach the Large Clothespin
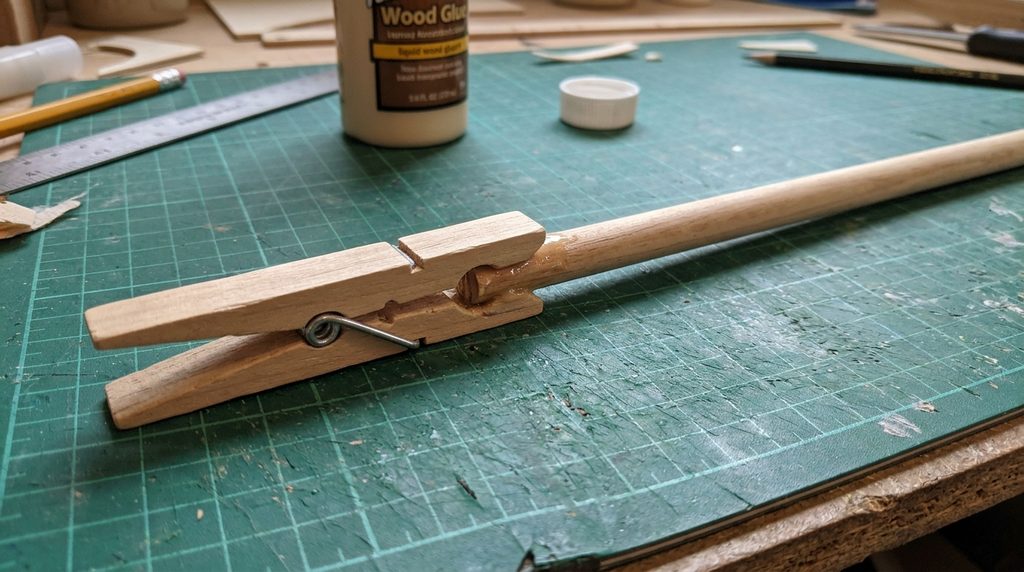
Clip the large wooden clothespin onto one end of the dowel. If it feels loose or moves around, add a little hot glue to hold it firmly in place. Lay the dowel on your work surface with the large clothespin resting on its side and pointing to the left. This will form the main part of your wooden arrow sign.
Step 6: Position the First Small Clothespin
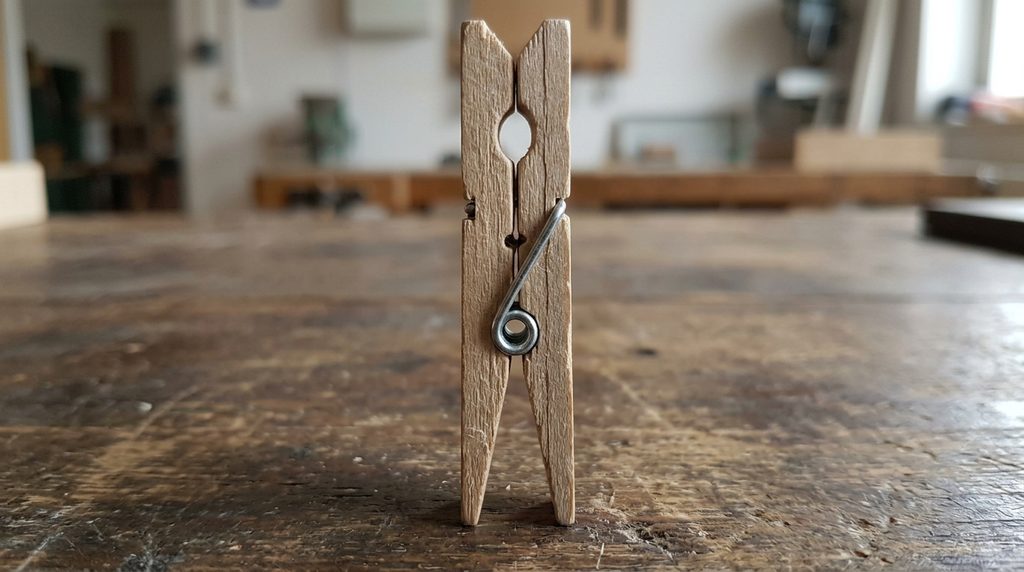
Take one painted standard clothespin and place it near the large clothespin. Make sure its pointed end faces downward and the center line is facing you. This position will help create the arrow shape.
Step 7: Attach the First Clothespin
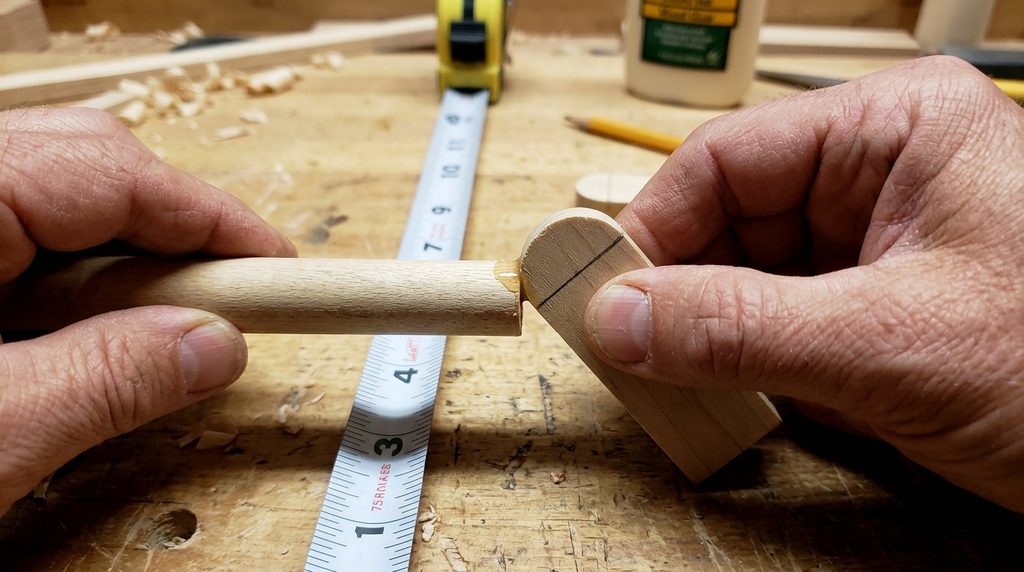
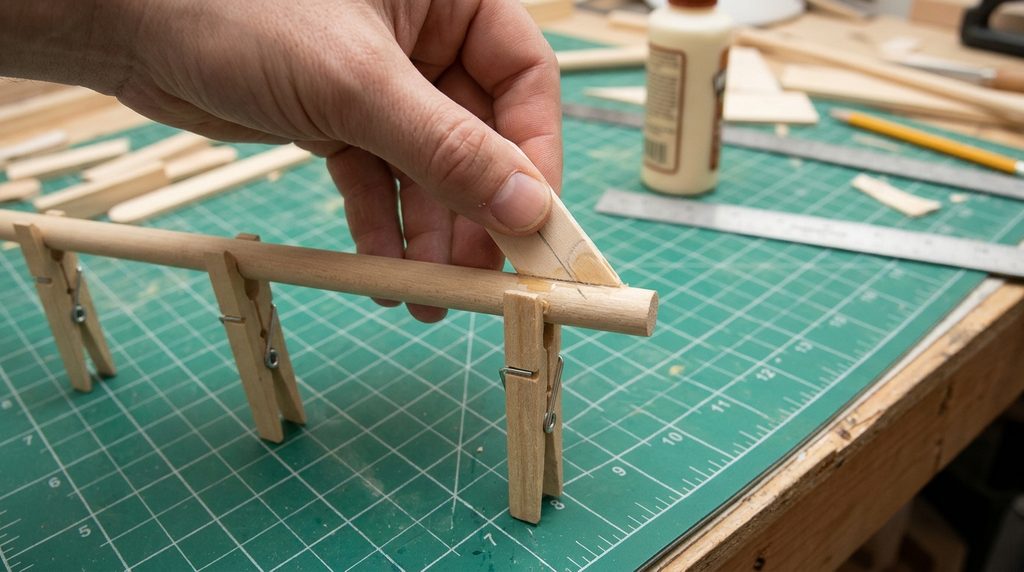
Add a small drop of hot glue to the rounded top of the clothespin, just to the right of the center line. Press the glued end against the lower side of the dowel, about 3 inches from its bottom. Hold the clothespin at a 45-degree angle until the glue sets firmly.
Step 8: Position the Second Clothespin
Take another painted standard clothespin and position it with the pointed end facing downward. Make sure the center line is facing you. Keep it ready for the next step, where you will attach it to the wooden dowel.
Step 9: Attach the Second Clothespin
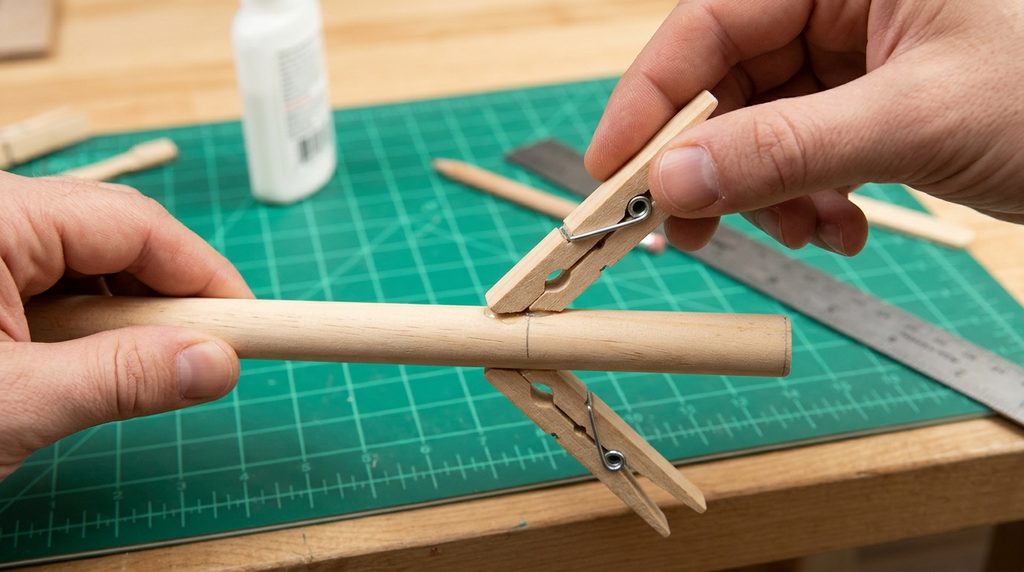
Apply a small amount of hot glue to the rounded top of the second clothespin, just to the left of the center line. Press the glued end against the upper side of the wooden dowel, about 3 inches from its end. Hold it at a 45-degree angle.
Make sure this clothespin is placed on the opposite side of the first clothespin you attached in Step 7. Hold it in place until the glue is completely set.
Step 10: Position the Third Clothespin
Take the third painted clothespin and place it with the pointed end facing downward. Make sure the center line is facing you.
Step 11: Attach the Third Clothespin
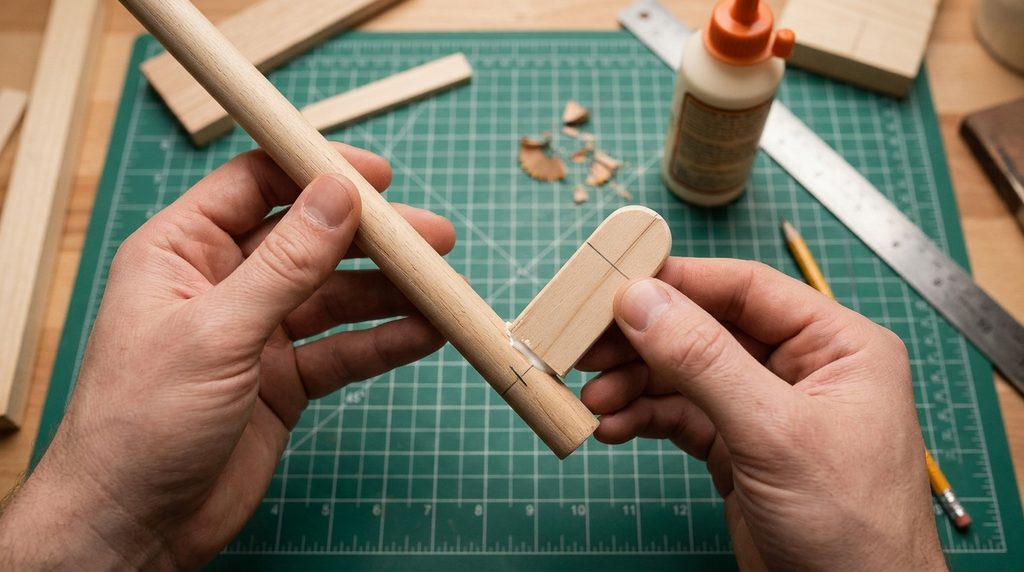
Apply a small drop of hot glue to the rounded top, just to the right of the center line. Press the glued end against the lower side of the dowel, about 1 inch from its end. Keep it at a 45-degree angle and hold it until the glue sets.
Step 12: Position the Last Clothespin
Take the fourth and final small clothespin. Place it with the pointed end facing downward and the center line facing you.
Step 13: Attach the Last Clothespin
Add a small amount of hot glue to the rounded top, just to the left of the center line. Press it against the upper side of the dowel, about 1 inch from its end. Hold it at a 45-degree angle.
Make sure this clothespin sits opposite the third clothespin to create a balanced arrow design. Allow the glue to dry completely.
Step 14: Cut the Leather Cord
Take the leather cord and cut a piece that is 24 inches long. This cord will be used to hang your finished wooden arrow sign.
Step 15: Attach the Hanging Cord
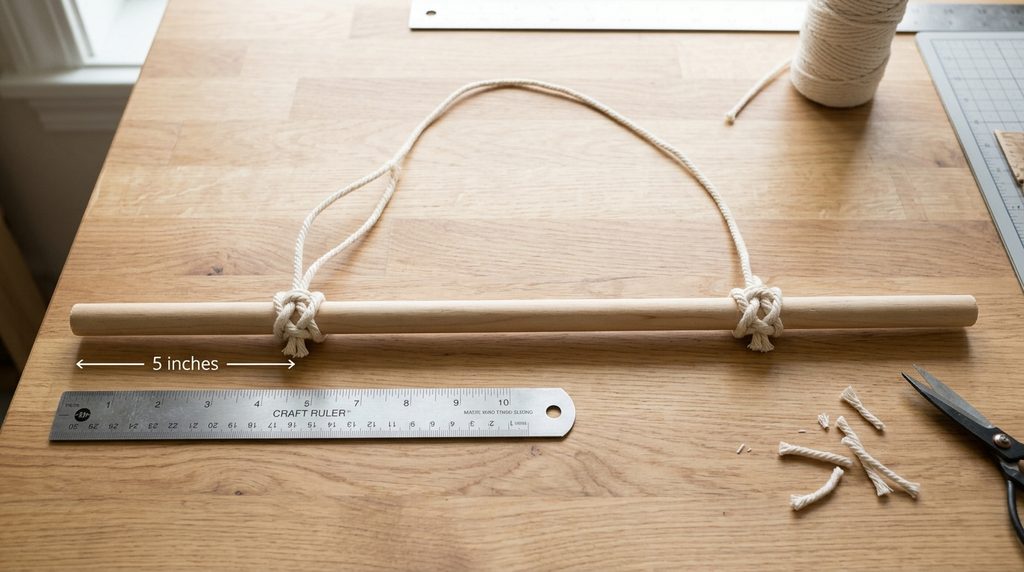
Tie one end of the leather cord around the dowel, about 5 inches from one end. Use a secure square knot to keep it in place. Repeat the same process on the other side of the dowel.
Trim any extra cord with scissors. Your rustic wooden arrow sign is now ready to hang!